Adding Drivers into SCCM
Today, My Lenovo Yoga 260 and Onelink dock arrived. This is a quick and simple post on adding drivers into SCCM.
Simple Downloads, Thanks Lenovo:
Lenovo are one of the manufactures that provide complete driver packages for each device, this saves considerable time over downloading them individually. I wanted to keep the UEFI boot option, so created boot media and copied that to a drive. By doing it this way I am able to boot to SCCM server from UEFI without having to change to bios setup, and then revert to UEFI later.
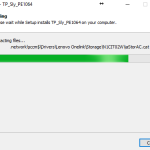
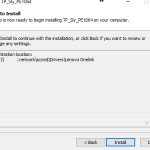
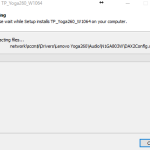
Two driver downloads were needed, The Onelink dock, and the Yoga 260.
Extract to:
Once these were downloaded, they could be extracted ready for importing into SCCM. I am a big fan of domain level paths with DFS, as stated previously, these allow servers to be replaced, but retaining file paths.
The one link drivers and laptop drivers get extracted to: “\\dfspath\sccm$\drivers\Lenovo Onelink” and “\\dfspath\sccm$\drivers\Lenovo Yoga260”
Once the drivers have been extracted from the package they can then be imported into SCCM.
Adding Drivers into SCCM:
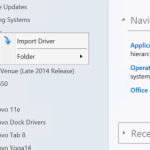
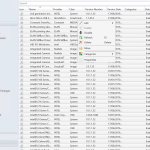
Open the SCCM console and Navigate to Software Library > Operating Systems > Drivers, right click and select import driver.
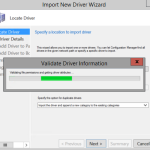
- Point to your extracted folder path. (Continue to use DFS paths here)
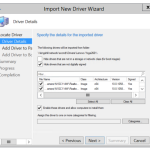
- “Driver Details” – Next, no change required.
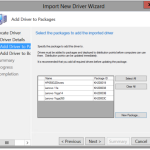
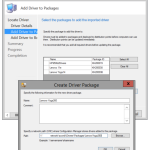
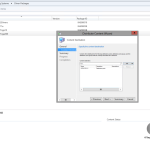
- “Driver to package” – I didn’t add the onelink drivers to a package but created a new one for the Yoga. I’ve had problems before whereby drivers will not install unless assigned to a package and deployed. Personally I use the same path i.e. “\\dfspath\sccm$\drivers\Packages\yoga260”
- “Driver to Boot” – It’s a good idea to add to storage drivers and network drivers to your boot package, but the more you add the more “bloated” your boot image becomes. When I booted the Yoga, I checked that WinPE could access the network and see the SSD, so didn’t add anything to the boot image. I always select “enable command support” under the customisation tab of my boot images. This allows me to press F8 to access things like diskpart, (to check that the drive is visible) and ipconfig (to check network connectivity) from WinPE.
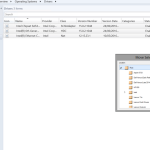
- Have a quick tidy up. Right click on the drivers folder (left) and select “Folder > Create Folder” give your folder a meaningful name. Then right click on the imported drivers and select move.
**SIDE NOTE**ALL IMPORTED DRIVERS BY DEFAULT WILL IMPORT INTO THE “DRIVERS” FOLDER. YOU CANNOT IMPORT DIRECTLY INTO A SUB-FOLDER**
- Try to import each “set” of drivers and then move them into the correct folders, so that you can remove any you no longer need in the future. (Although if you don’t do this, you can right click at the top, and view the source path)
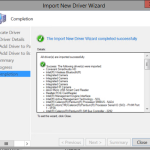
- The drivers can take a few minutes to import depending on the number of drivers and speed of your server.
- Once you’ve completed the import, if you created a driver package you will need to deploy it. Head to Driver Package > Right click on your package and select distribute content.
SCCM Software OS Drivers SCCM Import Driver Importing Yoga Drivers Validating Drivers Driver Details Add driver package create driver package Imported yoga drivers Move Drivers move yoga drivers Distribute content Distribute Content DP Distribute Content in progress Distribute Content complete I don’t know if this follows “best practice” but this is the way I manage and inject my drivers, Some people prefer to organise by type (i.e. NIC, Display, Storage) The choice is yours.
Hi, I followed a link to your blog and I agreed with this post in particular. . Where can I read more?